Special Tip#1: How to Take a Screen Snapshot (MAC) video
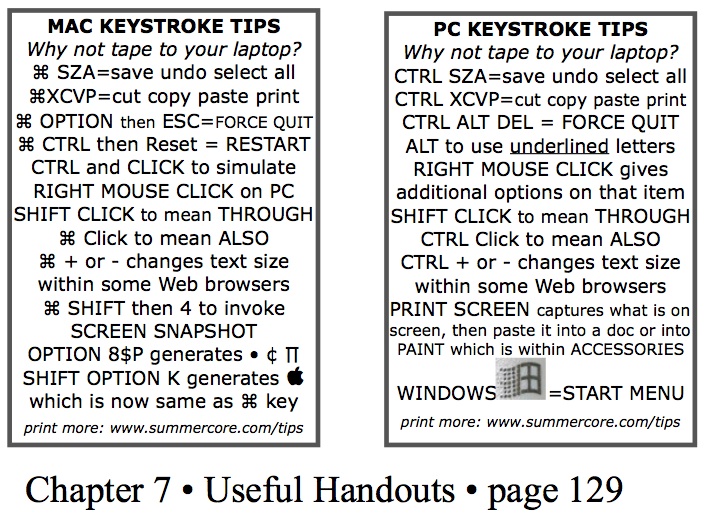
Use command shift 4 to invoke the cross-hair that looks like a + sign. Now drag from the top left to the bottom right marking a rectangle around the area you are trying to capture. This creates a file on your Mac Desktop with a funky name such as Screen Shot 2013.png. You can now check this file and of course rename it by using the mouse to click with the cursor and edit the name.
Special Tip#2: How to Take a Screen Snapshot (PC) video
Find the button on your keyboard that says PRINT SCREEN. It might be abbreviated as PR SC and it might require by virtue of its color that you hold down CTRL or FUNCTION or ALT. Anyway, this button all by itself takes the screen snapshot but it does not create a file. It puts a copy of the screen into the RAM chip of the computer as if you had pressed CTRL-C. Now you need to go to some application and paste with CTRL-V. One common place to go is to the application within ACCESSORIES called PAINT. Another common place is Microsoft Word. In either case, you choose PASTE or CTRL-V and you will have the screen shot in front of you and you can SAVE it. One advantage of PAINT is that you can CROP it.
The tool called SNIPPING TOOL comes for free on Vista or Windows7 • read about it • YouTube Video #1 • YouTube Video#2 • YouTube Video #3
Text Info on Snipping Tool • Another Article
The tool called SNIPPING TOOL comes for free on Vista or Windows7 • read about it • YouTube Video #1 • YouTube Video#2 • YouTube Video #3
Text Info on Snipping Tool • Another Article


